

Guest Speakers
ADQG Quilt Binding Demonstration


Cut a 2 1/4 strip for your binding and iron it in half

Leave a good 12 -18 inches between the 2 ends of the binding strips so you have room to manipulate the fabric. Put a pin in where the folded corner meets the bottom of the binding strip.
Binding with Hand Stitching
Sharon PW demonstrates how to machine sew the binding onto the front of the quilt sandwich, then pull the binding fabric to the back and hand stitching it into place
Binding using a Facing
Nancy D demonstrates how to bind your quilt by using the facing method
She took her inspiration from
Machine Binding
Audrey C demonstrates how to iron and fold your binding strips, sew them on the back of the quilt sandwich, pull them to the front and machine sew down the edge of the binding strip.
Her method was so interesting that we took photos at our Quilt ‘Til You Wilt retreat to show you step by step how to use her method:

Open up your ironed strip. Fold down the corner and press

Fold the long strip back and crease it. Then, gather your courage and cut the strip on the fold.

Fold the strip back down and press again

Sew your binding strip on the BACK of the quilt using 1/4 inch seam allowance
Here’s a video of Audrey demonstrating how to join the ends of the binding strips

The Sheila Scott Trunk Show
At our last guild meeting, Sheila showed us some of the amazing quilts that she has made over the years.
We are in awe of your talent Sheila! Thanks so much for sharing with us.


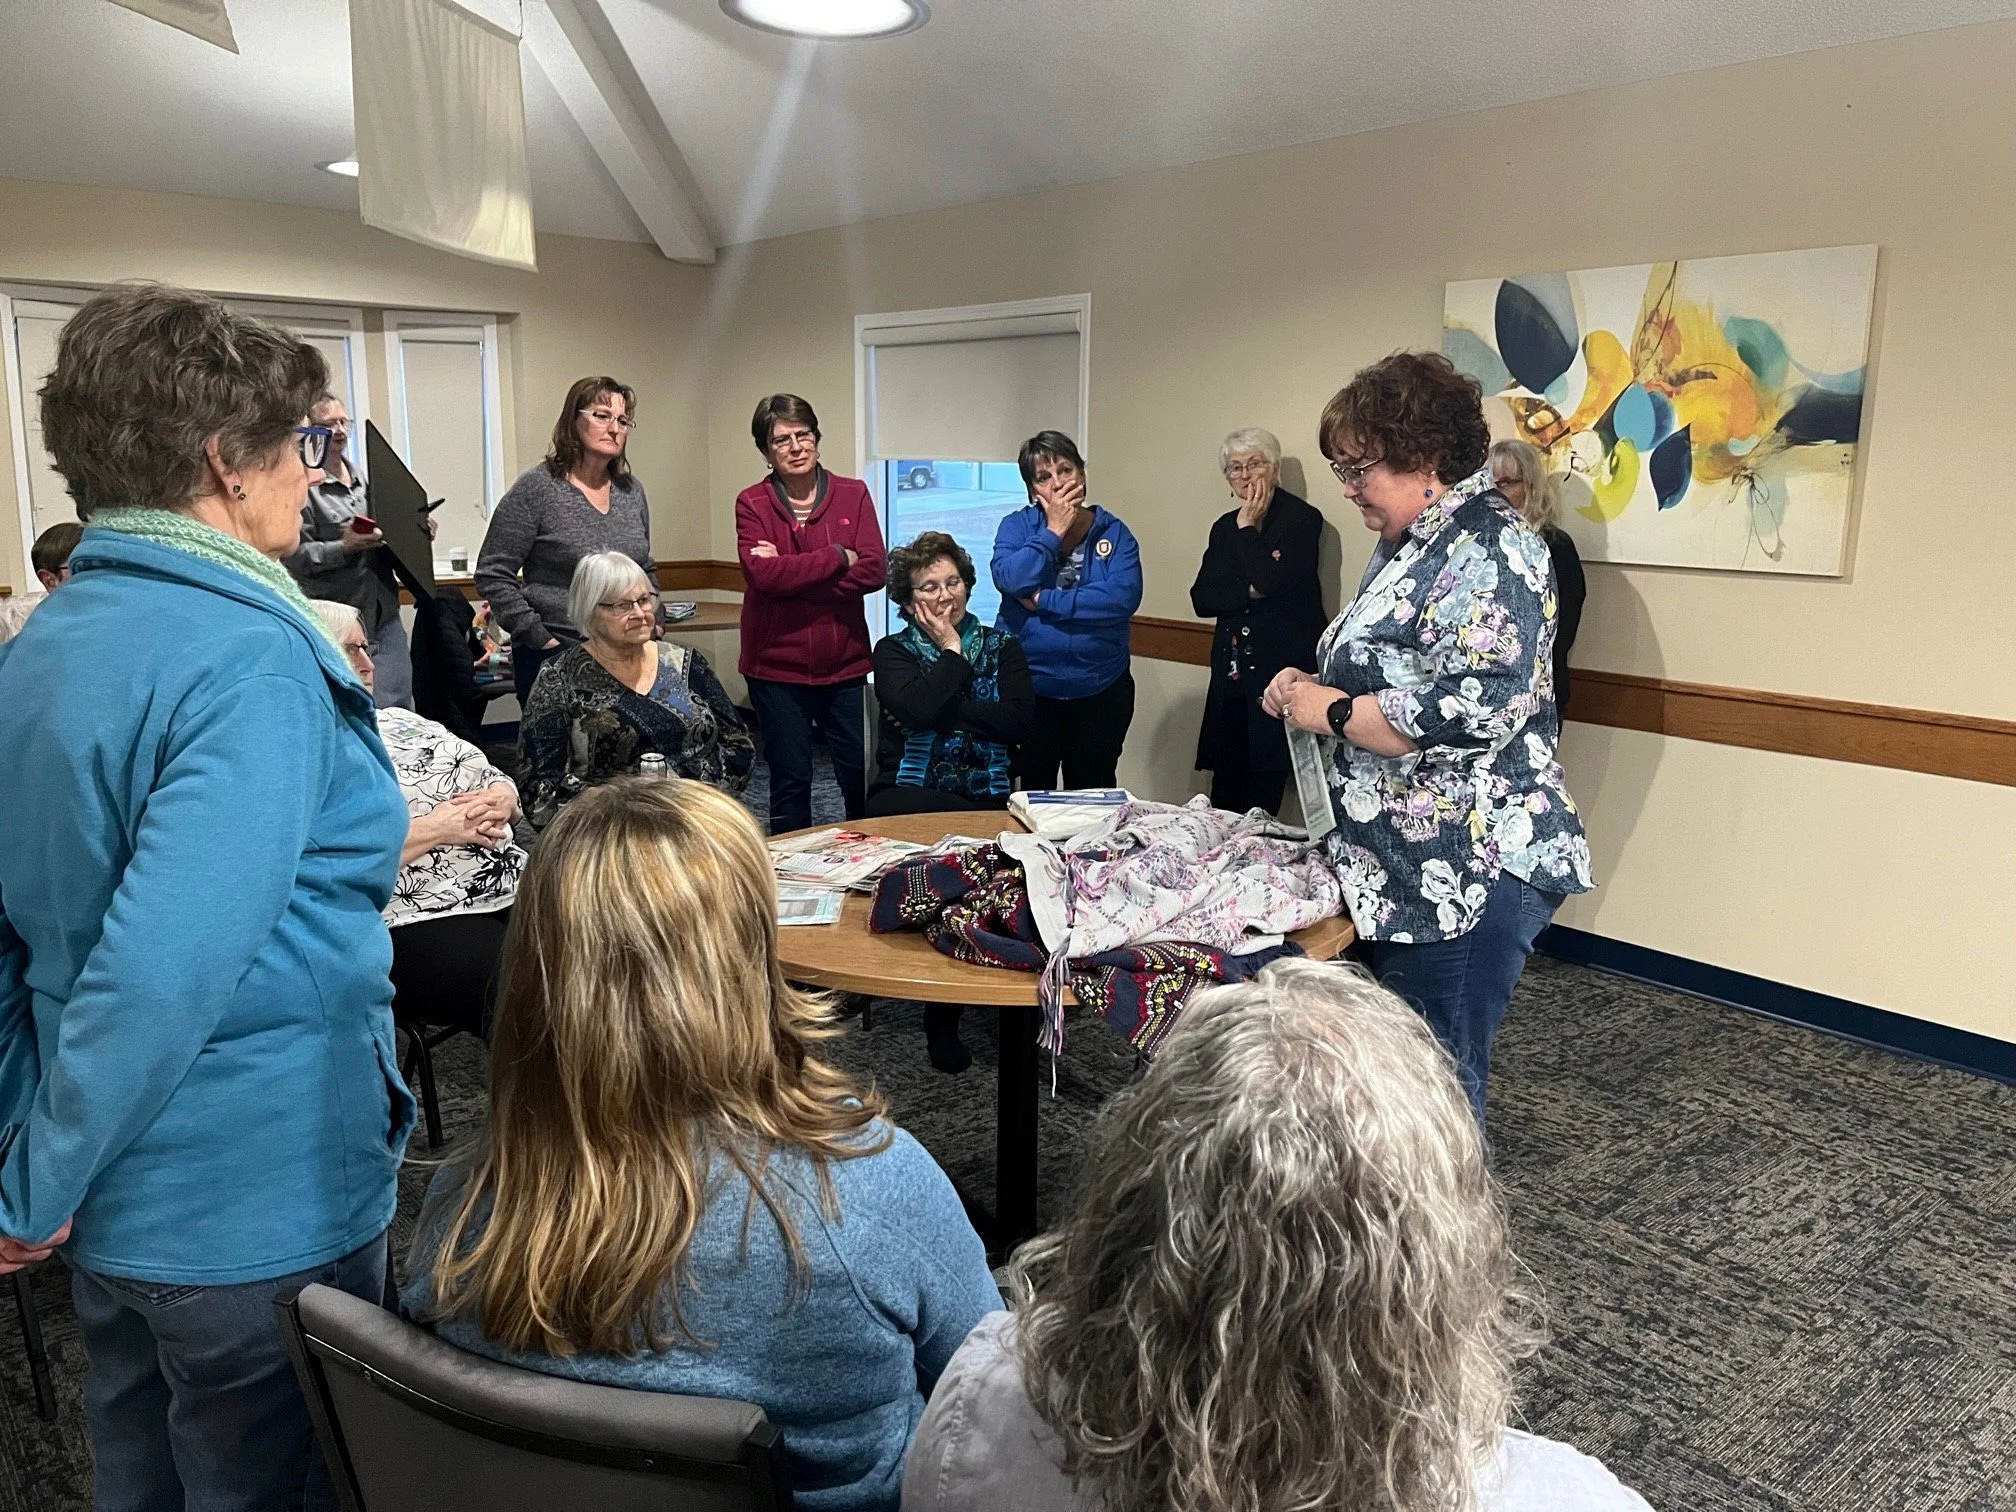
Cathy Forsyth - How to use busy fabrics in your quilting


Cathy Forsyth from Pinheads Quilting Company did a great presentation for us about how to use busy fabrics in quilts. She showed what the prints look like in 8, 6, 4 and 2 inch squares.
We all agreed that a bit smaller sized pieces help the faces show up more easily and that the square is not too overpowering.
Then she showed us how a light or dark background fabric can alter how the print shows in a quilt as well.
Thanks Cathy for a great presentation!


Sharon Planche-Williams - Circular Quilt-As-You-Go Technique


This technique was highlighted in Volume 7, Issue 5, 2020 - Block Idea Book by Jenny Doan
Sharon was demonstrating her template for this technique and showed us step-by-step how she made her gorgeous circular placemats. She also explained 2 other techniques (besides using her serger) for sewing the circles.
Thanks for bringing something new to the guild, Sharon!
Allison Spence - Cutting techniques, sewing machine maintenance, needles and bobbins

Allison’s presentation was full of tips for all of us quilters:
Rotary cutters and mats:
Change your rotary cutter blade often, cut in different places on your mat to discourage wear and tear
Keep your mats out of the sun and the freezing cold. Store them flat on a table or hanging from a frame.
Sewing machine maintenance:
Clean under your bobbin after every other bobbin change. She showed how much lint can accumulate as you sew, which was alarming!
Sewing machines full of lint do not work properly, the feed dogs stop gripping the fabric well and all kinds of snarls can ensue
Do not used canned air, it will only shift the lint into the back of your machine. Use your vacuum cleaner instead
Needles and bobbins:
Use a new sewing needle for each project - the point needs to pierce the fabric properly
If your thread is twisting or shredding, you need a larger needle
if your thread is snapping, you need a smaller needle
the new sewing machines use magnets to keep the bobbin holder in place. Use plastic bobbins, not metal ones!!
Thanks Allison ~ We will all be cleaning out our machines on a regular basis from now on
Diane Grimard - Swedish Weaving
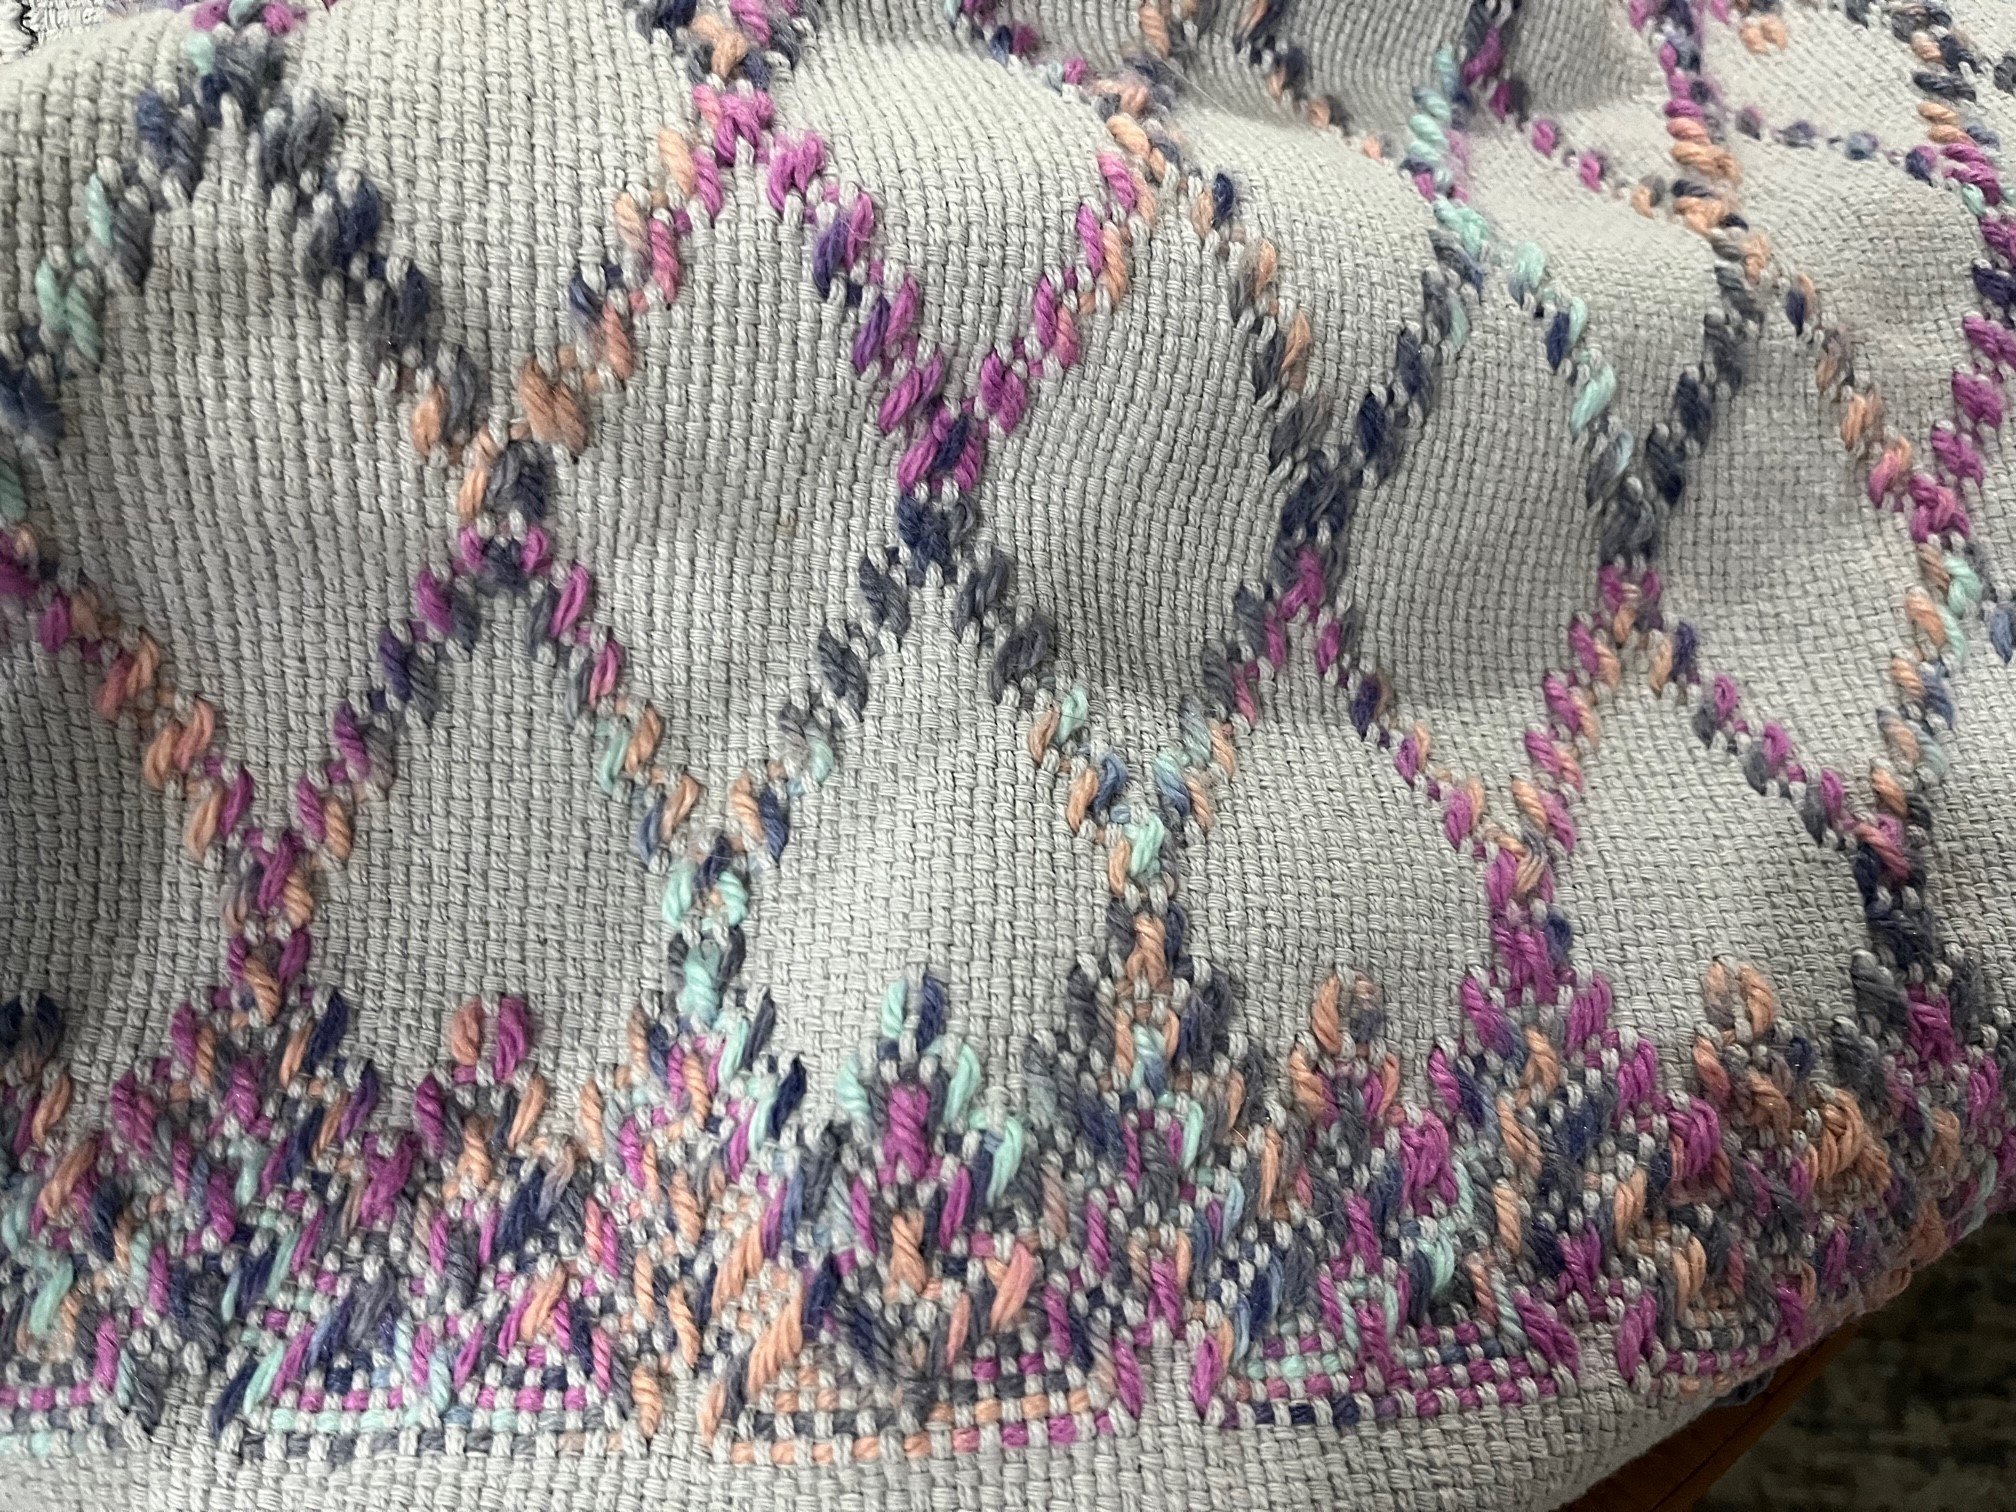

Diane demonstrated her love of Swedish Weaving. This is done on specialty fabric, and wool is woven in pattern onto the fabric using a very long tapestry needle. The wool is started at the middle of the fabric and worked out to the edge.
We are in awe of your talent Diane, thank you for sharing!
Shirley Cameron - Press, don’t iron, and set your seams!


Shirley’s experience as a seamstress speaks volumes! She discussed how to set up your ironing surface for it’s best effect, she demonstrated the difference between ironing and pressing, and how to set a seam.
How to set up your ironing station
Good padding on your ironing board sets you up for pressing success. Use your metal ironing board to make a template for cutting your layers to fit snugly on top of the board.
Shirley places an old wool blanket on the metal of the ironing board, then adds an extremely thick quilt batting (1/4-1/2 inch batting that can be purchased at a fabric store) over that and tops it all with a cotton canvas cover. Don’t use a Teflon cover because it doesn’t absorb the steam, and your ironing won’t be as good as you’d like it to be.
Press - don’t iron
Basically, if you are quilting, you should NOT drag your iron across your fabric (that is ironing). To press your quilting pieces, simply place your iron onto the seam and leave it there for a few seconds, lift your iron and place it again
How to set your seams
You take your sewn pieces and press them on both sides before your open them, which sets the seams into the fabric. Then, you finger press your seams open before you press your quilt pieces. This extra step helps you to piece your quilt more accurately.
Another bonus? If you trim your selvage with your scissors on a slight angle, your seams won’t fray!! We are all trying that next time we quilt. Who doesn’t have frayed threads showing up under our light fabrics on our quilt tops?
Shirley demonstrated her pressing tools - some she has been using for more than 60 years. The secret? Hardwood with no varnish on her clappers, point turners, and using wool as the base for her ironing surfaces.
We loved your stories about how irons have changed since you were young, Shirley - as a girl she used the irons that you had to heat up on the stove and later used an iron heated with kerosene, and she talked about how irons are so much better than they were in the 1950’s.
Shirley, thank you so much for being a part of our guild!
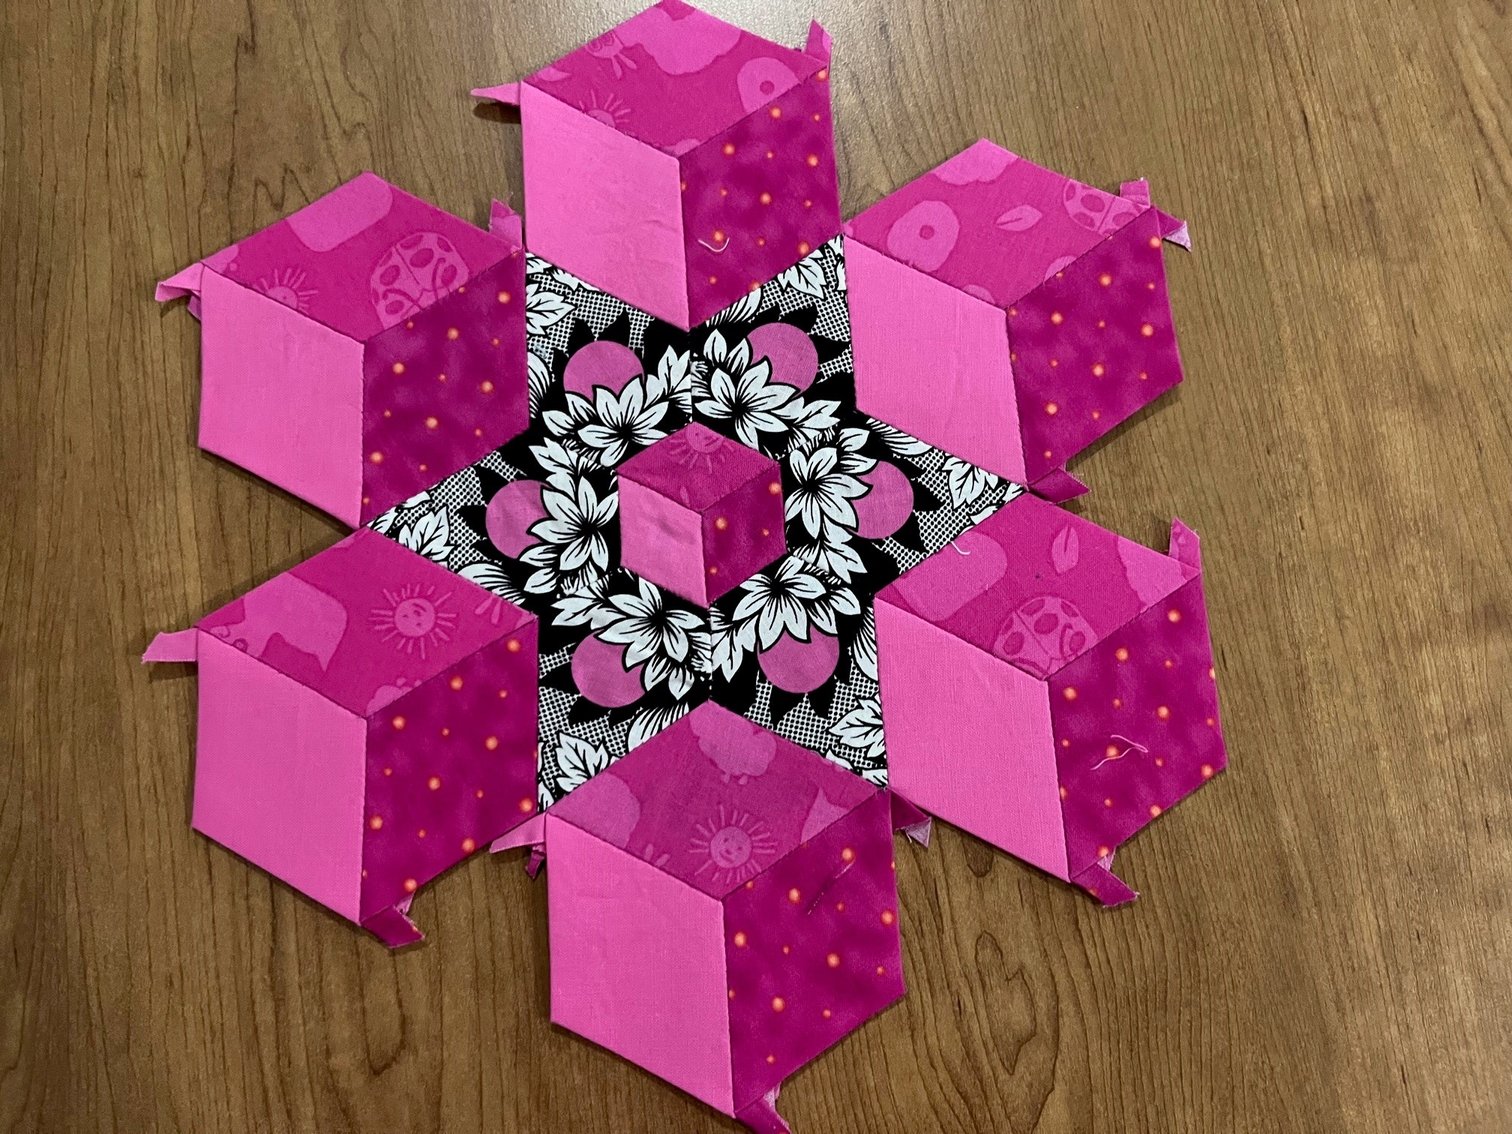
Linda Ward - Tula Pink English Paper Piecing
Linda demonstrated her english paper piecing technique using a pattern from Tula Pink. All of these pieces have been sewed by hand! We are in awe of your talent, Linda!~


Maureen Goldsmith - Kantha Quilting
Kantha Embroidery is an age old mending technic of using scraps to build a patchwork cloth. The stitching is a variation of the running stitch and it’s how it is used that makes it Kantha. This technique is used by South Asian women of all classes. Usually there are 5-7 layers of cotton fabric that are hand stitched. They avoid silk as it is harder to needle. This could take anywhere from months to years to complete. The Kantha fabric is made into scarves, quilts, baby blankets and many other pieces.
All of the following pieces have been designed and stitched by Maureen Goldsmith

Maureen holding colour studies with painted paper, fabric, and threads displayed in sketchbook

Hummingbird – Size – 10” x 10” – Inspiration is hummingbirds at a bird feeder in back yard
Background – light weight 100% cotton - hand dyed
Threads – 1 or 2 stranded cotton, 50wt cotton thread and metallic thread

Nancy helping Maureen show smaller stitch samples

Small stitch collage sample using hand dyed fabrics and threads featuring embroidery stitches including the Kantha stitch to add texture

Colour and stitch sample – including a strip of Kantha down the centre

Going in Circles – hand dyed cotton background fabric stitched using a variety of colours and weights of threads


Nosara – Size – 17” x 19” - inspiration - family surf trip to Costa Rica.
Background fabric - a lightweight silk that was dyed and painted with Procion MX dyes
Threads – 100% cotton hand dyed DMC, 100% cotton Finca, and 100% Cotton Broderie sizes #8 to #16

Maureen holding a Colour and Stitch sketchbook study featuring a small Kantha stitch sample


Continuing colour studies with paper, fabric and stitch


